
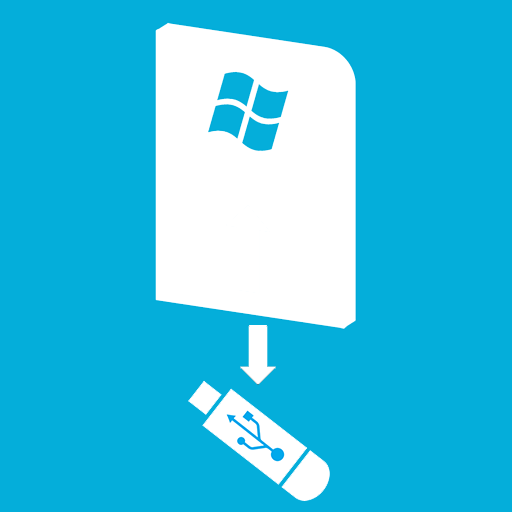
If you’re looking for a way to create a bootable USB flash drive of some ISO file, you’re at the right page. Whether you want to upgrade your Computer’s OS or Re-install a new one. Here we’re going to take a step-by-step look at how to go about this process in detail. Installations from a USB flash drive have become one of the easiest ways to update your computer with a new operating system. A USB installation is quick, extremely portable, and has the added bonus of reverting back to a storage device following the install.
What you need?
- An ISO file of Windows you want to install (7, 8 or 10).
- A USB flash drive or SD card (with 8GB+ memory).
- A tool Rufus, download here.
Rufus
Rufus is a portable program works on Windows 10, 8, 7, Vista, and XP, and will “burn” an ISO image file to any type of USB storage device you happen to have. Aside from partition scheme, file systems, cluster size, and the type of bootable you’ll be creating. Once you’ve selected the bootable disk type and the ISO image you’ll be burning, you can happily hit Start and wait for the process to finish.
How To Burn an ISO File to a USB Drive
1. When you’re ready, double-click on the rufus.exe file. The Rufus program will start right away.
2. Insert the flash drive you want to “burn” the ISO file to into your computer, assuming it’s not already plugged in.
3. Check that the USB drive is empty Because Rufus will format it during the process.
4. From the top of the Rufus program screen, choose the USB storage device you want to burn the ISO file to.
Note: Double check the USB drive, if you don’t see it. Try another USB device and/or another USB port on your computer.
5. Leave the Partition scheme and target system type, File system, and Cluster size alone unless you know what you’re doing.
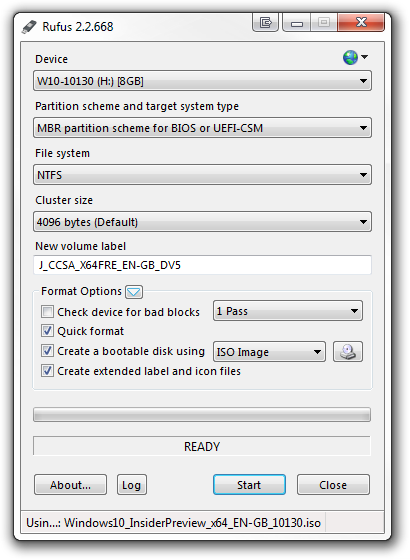
6. Now to Create a bootable drive, make sure ISO Image is selected and then tap or click on the CD/DVD icon.
7. Another window will open, locate and then select the ISO image you want to burn to the flash drive.
8. Tap open, wait while Rufus inspects the ISO file you chose.
Note: If you get an Unsupported ISO message, the ISO you chose is not supported for burning to USB by Rufus.
9. Tap or click on Start to start the “burning” of the ISO file to the USB device you chose.
Note: If you get an Image is too big message, you’ll need to use a larger USB device.
10. Tap or click OK to the Warning. Again ensure that the flash drive or other USB device is empty.
11. Now Rufus will properly format the USB drive so it’s bootable, and then copies all of the files contained in the ISO image. The time depends on the file size in most cases it takes less than 20 minutes.
12. Once it says DONE, you can close Rufus and remove the USB drive.
13. Plug it again and you’ll see a changed icon. It indicates that your USB flash drive is now bootable. Boot from the USB drive now that it’s properly “burned” and then continue with whatever it is you’re using this bootable drive for.
For queries feel free to drop a comment below.